- Generating Images with ComfyUI and Z Image Turbo
- Automating Workflows with n8n and Local LLMs
- Local LLM Coding with VSCode and Qwen3-Coder
- Running and Serving LLMs with LM Studio
- Running LLMs on PyTorch with AMD ROCm™ Software
- Building Custom GPU Kernels with PyTorch and AMD ROCm™
- Building Your First Agent with GAIA
- Chatting with LLMs in Open WebUI
- Clustering Two Ryzen™ AI Halos with RCCL
- Clustering Two Ryzen™ AI Halos with RPC
- Fine-Tuning LLMs with LLaMA Factory
- Fine-Tuning LLMs with PyTorch and AMD ROCm™ Software
- Fine-Tuning LLMs with Unsloth
- Getting Started with Lemonade
- Getting Started with Ollama
- Getting Started with vLLM
- Local Computer Vision with AMD Ryzen™ AI NPU
- Real-Time Speech-to-Speech Translation
- Remote Development with AMD Sync
- Running OpenClaw Locally with Lemonade Server
Getting Started with vLLM
Learn how to run inference and serving using containerized vLLM on the integrated GPU
Overview
vLLM is a high-performance inference engine designed for large language models (LLMs). It provides optimized serving with continuous batching for high throughput and an OpenAI-compatible API for seamless application integration. This makes vLLM great for production deployments where speed and resource efficiency are critical.
This playbook teaches you how to serve LLMs using containerized vLLM on the integrated GPU and interact with models through the OpenAI Python API.
What You’ll Learn
- How to set up and start a vLLM server with AMD ROCm™ support
- How to interact with models via OpenAI-compatible API endpoints
- How to send prompts to the local server with
vllm-prompt
Setting the Memory Configuration
For the Ryzen AI Halo, the dedicated GPU memory defaults to 64GB, which is sufficient for most workloads. For larger models or longer contexts, increasing this to 96GB may help. To adjust, open AMD Software: Adrenalin Edition™ and navigate to Performance → Tuning → AMD Variable Graphics Memory. Reboot for the changes to take effect.
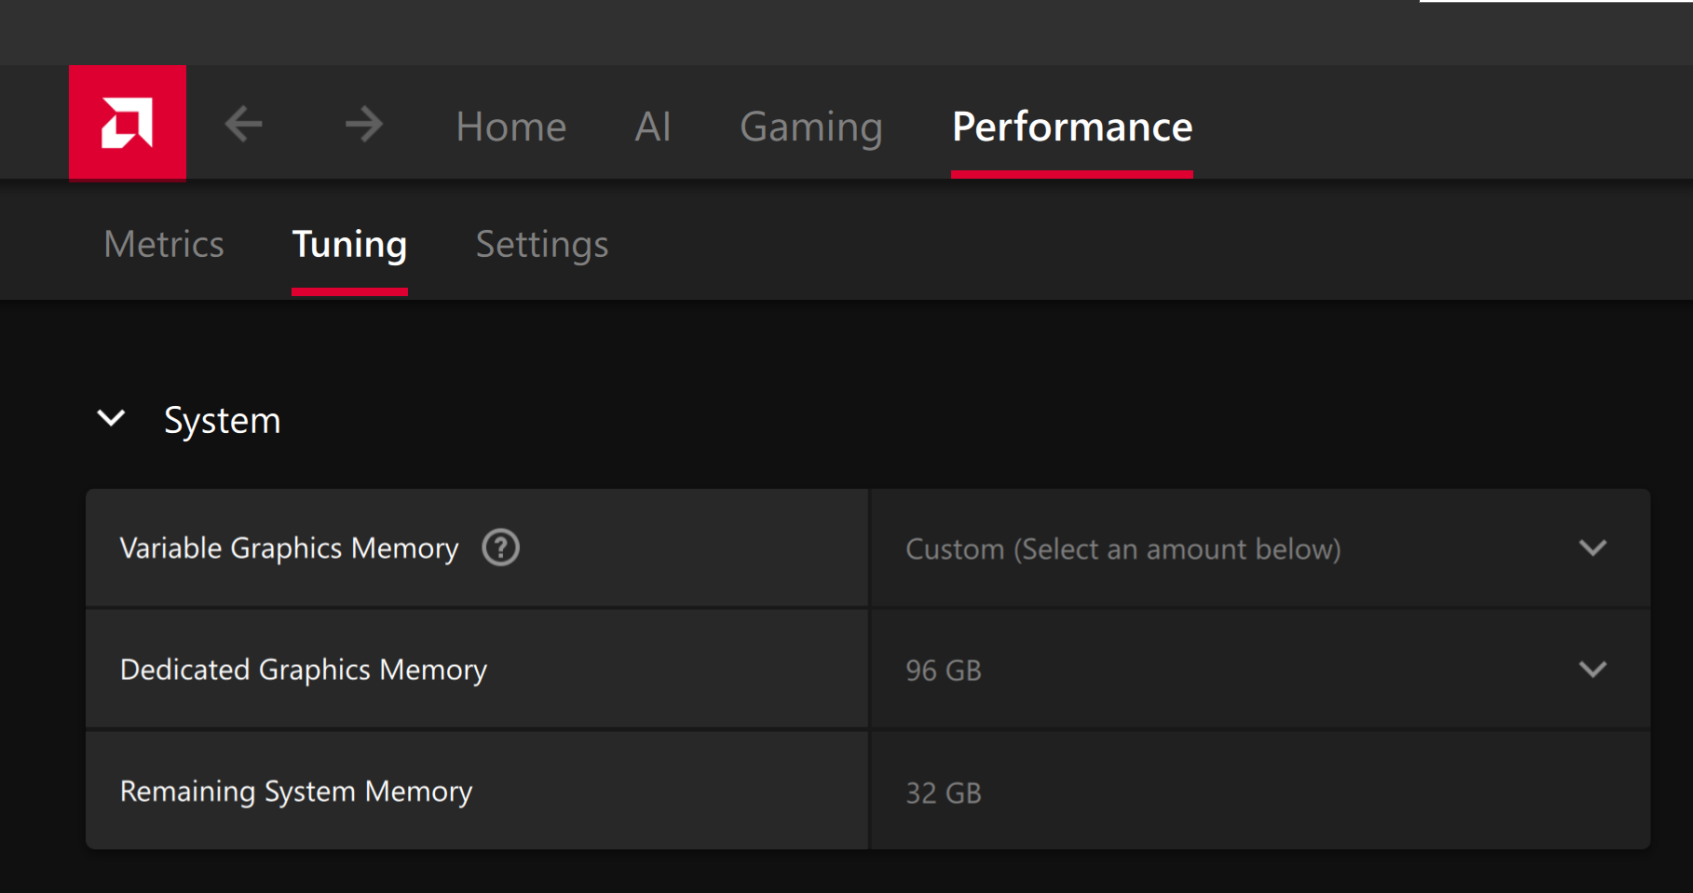
To change the dedicated GPU memory value, open AMD Software: Adrenalin Edition™ and navigate to Performance → Tuning → AMD Variable Graphics Memory. Reboot for the changes to take effect.
On Linux, to run larger models, increase the shared memory pool available to the GPU. This might involve setting the BIOS dedicated GPU memory to the minimum, so that the shared memory pool can be maximized.
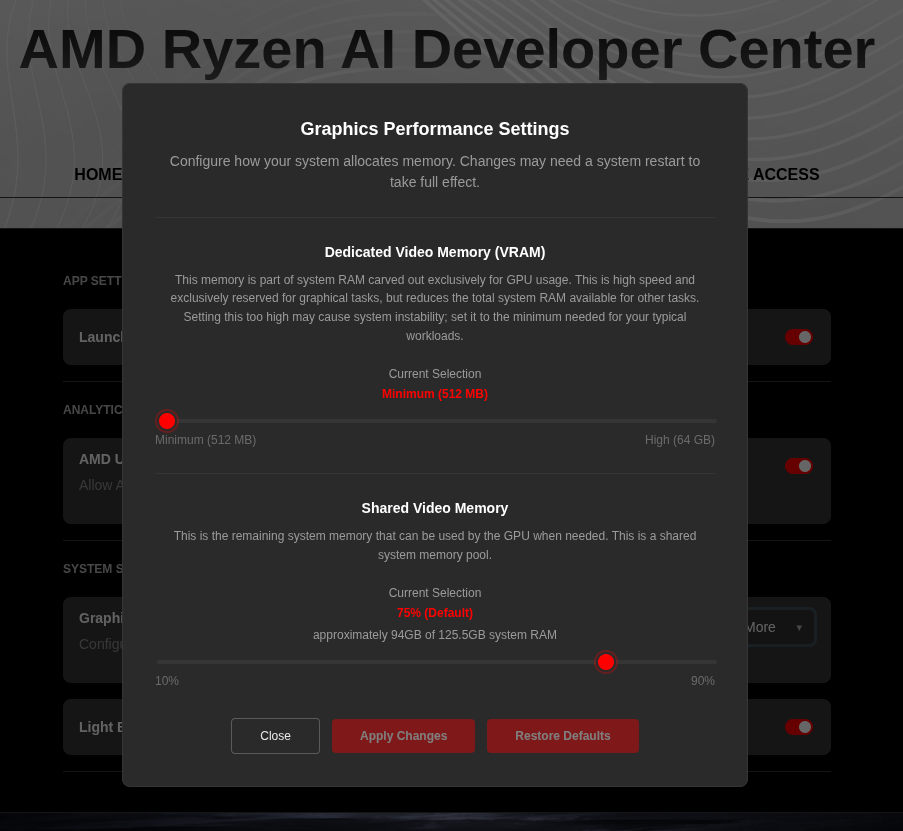
For the AMD Ryzen™ AI Halo, the default is 96GB shared. To modify this, open the AMD Ryzen™ AI Developer Center and go to the Settings tab. Under Graphics Performance Settings, increase the Shared Video Memory slider, then click Apply Changes and reboot for the changes to take effect.
Increase the shared memory pool by changing the kernel’s Translation Table Manager (TTM) page setting. AMD recommends setting the minimum dedicated VRAM in the BIOS (0.5 GB) so the maximum amount is available as shared memory.
- Install the
pipxutility and add the path for pipx-installed wheels to the system search path:
sudo apt install pipxpipx ensurepath- Install the
amd-debug-toolswheel from PyPI:
pipx install amd-debug-tools- Query the current shared memory settings:
amd-ttm- Increase the shared memory allocation (units in GB):
amd-ttm --set <NUM>- Reboot for the changes to take effect.
Check for Software Updates
Before starting, ensure your Ryzen AI Halo has the latest software installed. Open the AMD Ryzen™ AI Developer Center and check for available updates, both to the app itself and additional software.
Go to the Updates tab. If updates are available, install them and reboot before continuing.
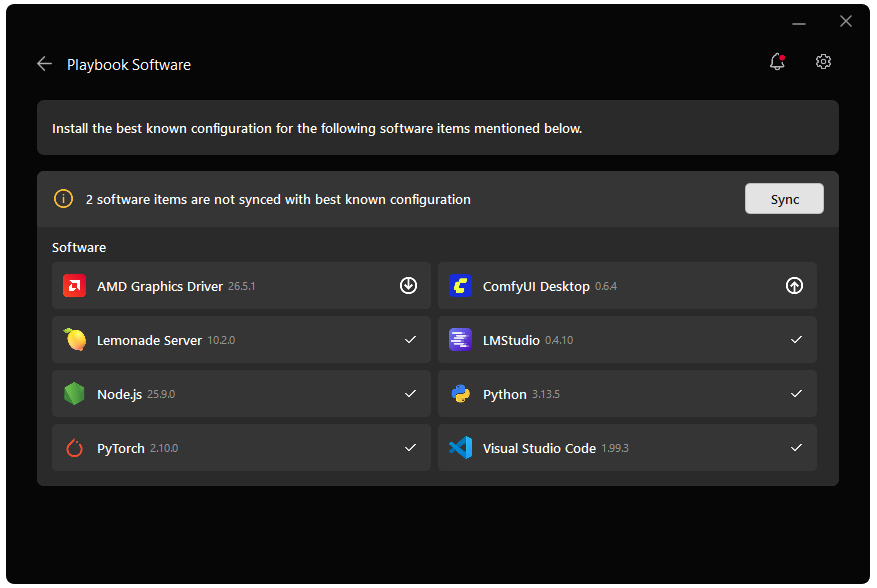
Go to the Manage tab. If updates are available, install them and reboot before continuing.

Installing Software Prerequisites
This playbook uses a prebuilt container image that includes vLLM, ROCm support, and the helper scripts needed to launch the server. You do not need to install PyTorch, vLLM, or local playbook scripts manually.
There is no host-side vLLM installation step. Start vLLM with:
vllm-launchThe launcher starts the container, targets the integrated GPU, and exposes a local OpenAI-compatible vLLM server. Alternatively, click the vLLM icon in the taskbar.
Quick Start
1. Confirm the vLLM Server Is Running
The vllm-launch may take a couple minutes to initialize everything. Once it starts, the server is available at http://localhost:8001. Keep the launch terminal open because the server runs in the foreground, then open a separate terminal for the remaining steps. The examples below use Qwen/Qwen3-1.7B; if your launcher is configured for a different model, substitute that model ID in the requests.
2. Send a Prompt
Use the provided vllm-prompt script to send a request to the local vLLM OpenAI-compatible server:
vllm-prompt "Tell me a story"3. Chat with the model using the OpenAI Python API
Since vLLM exposes an OpenAI-compatible API, you can use the openai Python package to interact with it.
First, create a Python virtual environment:
sudo apt install -y python3-venvpython3 -m venv vllm-envsource vllm-env/bin/activateInstall the OpenAI package
pip install openaiCreate an OpenAI client pointed at the local vLLM server instead of OpenAI’s servers. The api_key is required by the client but vLLM doesn’t validate it, so any string works:
from openai import OpenAI
client = OpenAI(    base_url="http://localhost:8001/v1",    api_key="EMPTY",)
Then, send a chat completion request. This uses the same message format as the OpenAI API — a list of messages with roles like "user" and "assistant". Setting stream=True means the response will arrive incrementally rather than all at once:
response = client.chat.completions.create( model="Qwen/Qwen3-1.7B", messages=[ {"role": "user", "content": "Tell me a short story"}, ], max_tokens=2048, # Maximum number of tokens the model will generate in its response stream=True,)Finally, iterate over the streamed chunks and print each piece of text as it arrives:
for chunk in response: content = chunk.choices[0].delta.content if content: print(content, end="", flush=True)The included script contains the entire example and can be downloaded.
Troubleshooting
Connection refused
Make sure the server is running:
curl http://localhost:8001/healthSummary
In this playbook, you learned how to:
- Start containerized vLLM with ROCm support on the integrated GPU
- Start a vLLM server with OpenAI-compatible API endpoints on port 8001
- Send prompts with
vllm-prompt - Make API calls to the vLLM server using both streaming and non-streaming requests
- Troubleshoot common issues with server startup, memory, and client connections
You now have a containerized vLLM deployment for serving large language models with optimized performance on the integrated GPU.
Next Steps
- Try different models — Swap the model in the
vllm-launchconfiguration to experiment with different LLMs and compare performance. - Build an application — Use the OpenAI-compatible API to integrate vLLM into a Python app, chatbot, or automation workflow.
- Fine-tune and serve — Fine-tune a model using LoRA or QLoRA, then deploy it with vLLM for optimized inference.
Additional Resources
- vLLM Official Documentation — Comprehensive guides and API references
- vLLM GitHub Repository — Source code, issues, and community discussions
Need help with this playbook?
Run into an issue or have a question? Open a GitHub issue and our team will take a look.