Install and configure OpenClaw autonomous AI agent with Lemonade Server.
Overview
OpenClaw is an autonomous AI agent that can write and run code, manage files, and work through complex multi-step tasks on your behalf. Unlike a chat assistant that just answers questions, OpenClaw takes real actions on your system, which means it needs a fast, capable AI backend that can keep up with a demanding agent loop.
Lemonade Server is that backend. It is an open-source local inference server that runs GenAI models directly on your hardware and exposes them through the industry-standard OpenAI API.
Together, they form a fully local AI agent stack: Lemonade handles model inference, and OpenClaw provides the agent loop that turns model outputs into real actions.
Before you continue: OpenClaw is a highly autonomous AI agent. Giving any AI agent access to your system may result in unpredictable or unintended outcomes. Proceed only if you understand the risks and are comfortable with autonomous software acting on your behalf.
What You’ll Learn
By the end of this playbook you will be able to:
Learn about Lemonade Server
Install OpenClaw and point it at Lemonade Server as its AI backend.
Start the OpenClaw gateway and confirm your agent is ready to work.
Connect a communication channel (Discord or Telegram) so you can chat with your agent from any device.
Setting the Memory Configuration
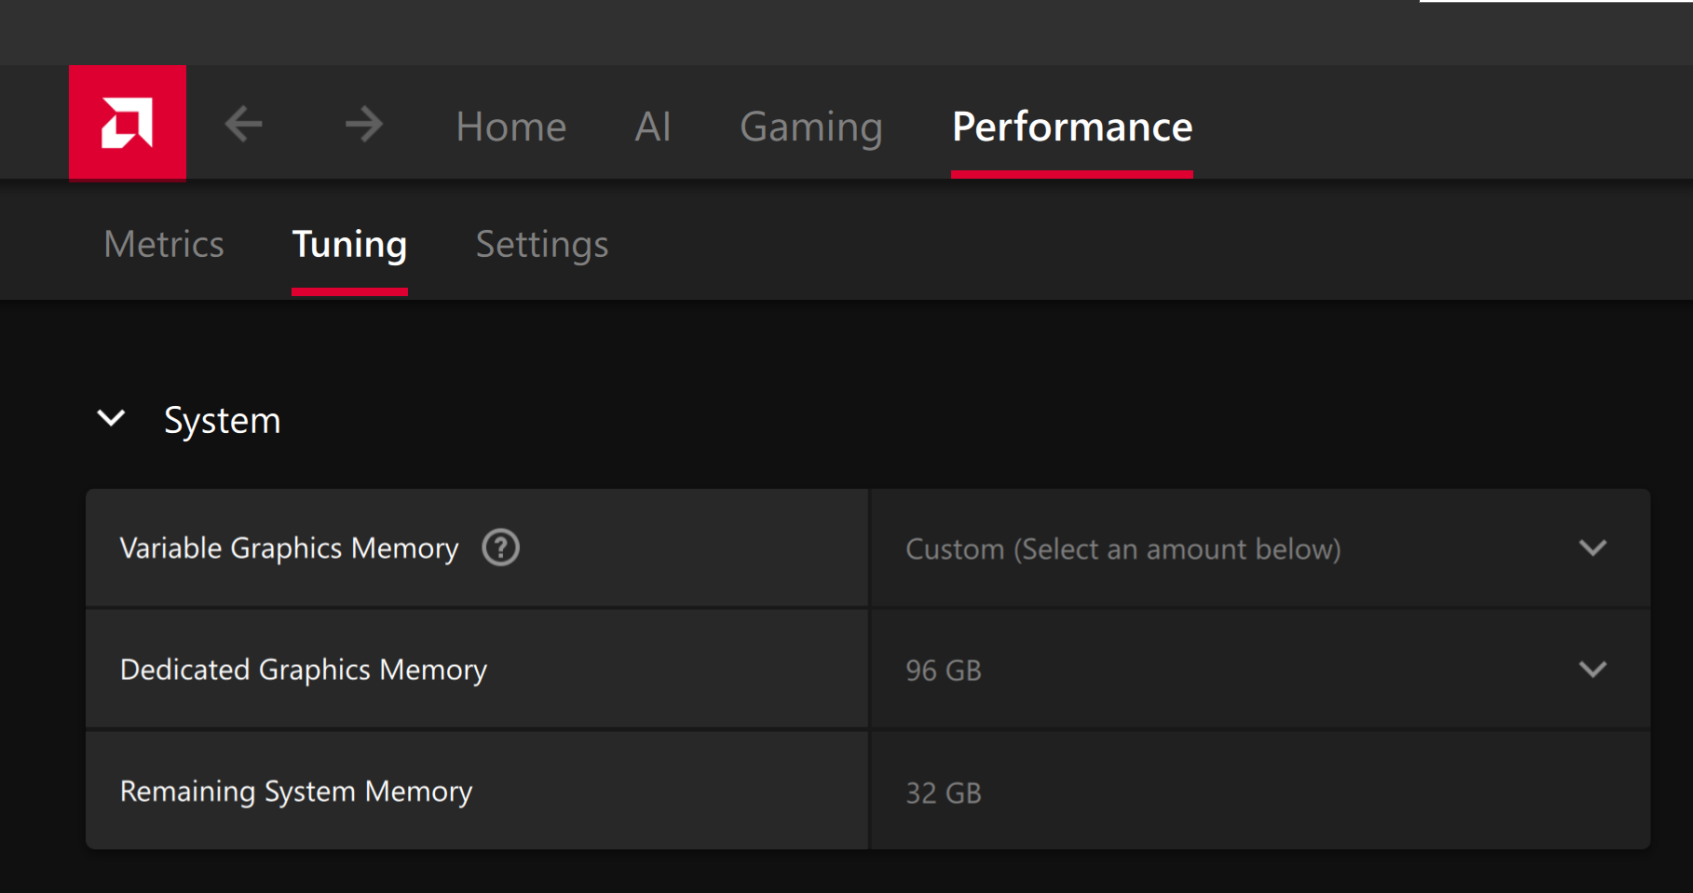
For the Ryzen AI Halo, the dedicated GPU memory defaults to 64GB, which is sufficient for most workloads. For larger models or longer contexts, increasing this to 96GB may help. To adjust, open AMD Software: Adrenalin Edition™ and navigate to Performance → Tuning → AMD Variable Graphics Memory. Reboot for the changes to take effect.
To change the dedicated GPU memory value, open AMD Software: Adrenalin Edition™ and navigate to Performance → Tuning → AMD Variable Graphics Memory. Reboot for the changes to take effect.
On Linux, to run larger models, increase the shared memory pool available to the GPU. This might involve setting the BIOS dedicated GPU memory to the minimum, so that the shared memory pool can be maximized.
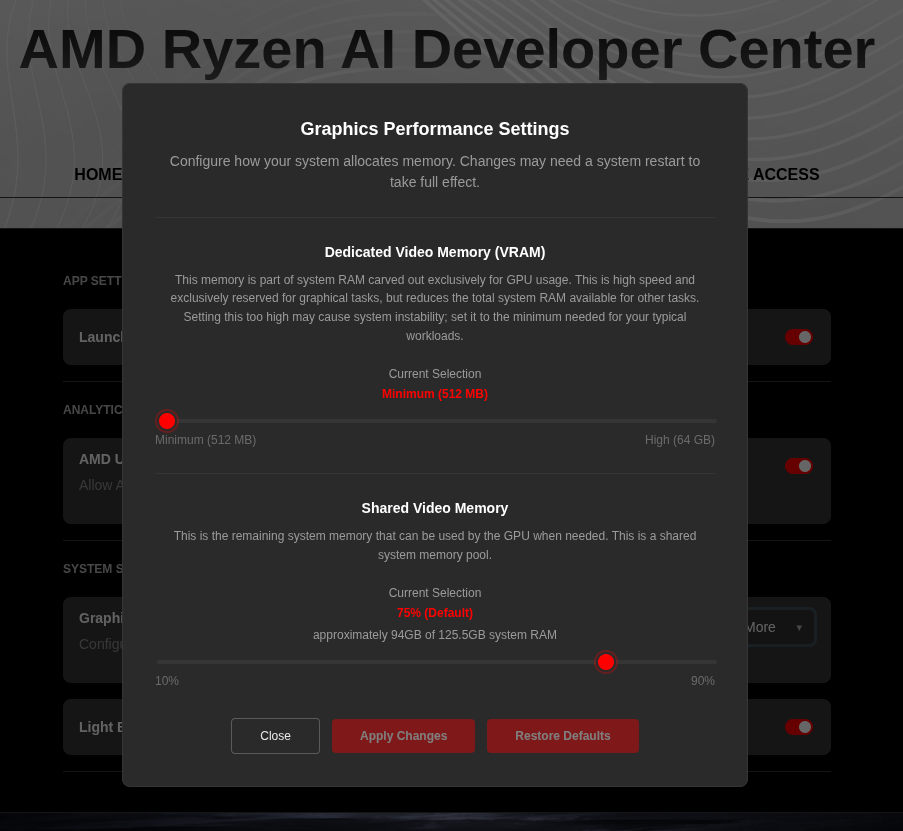
For the AMD Ryzen™ AI Halo, the default is 96GB shared. To modify this, open the AMD Ryzen™ AI Developer Center and go to the Settings tab. Under Graphics Performance Settings, increase the Shared Video Memory slider, then click Apply Changes and reboot for the changes to take effect.
Increase the shared memory pool by changing the kernel’s Translation Table Manager (TTM) page setting. AMD recommends setting the minimum dedicated VRAM in the BIOS (0.5 GB) so the maximum amount is available as shared memory.
Install the pipx utility and add the path for pipx-installed wheels to the system search path:
Terminal window
sudoaptinstallpipx
pipxensurepath
Install the amd-debug-tools wheel from PyPI:
Terminal window
pipxinstallamd-debug-tools
Query the current shared memory settings:
Terminal window
amd-ttm
Increase the shared memory allocation (units in GB):
Terminal window
amd-ttm--set<NUM>
Reboot for the changes to take effect.
Check for Software Updates
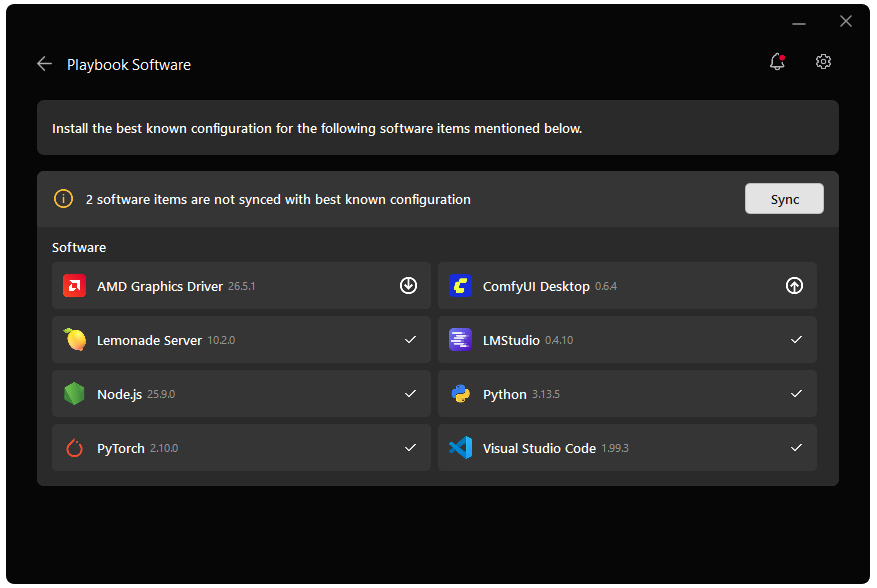
Before starting, ensure your Ryzen AI Halo has the latest software installed. Open the AMD Ryzen™ AI Developer Center and check for available updates, both to the app itself and additional software.
Go to the Updates tab. If updates are available, install them and reboot before continuing.
Go to the Manage tab. If updates are available, install them and reboot before continuing.
Installing Software Prerequisites
A PC running Ubuntu 24.04+ or a compatible Debian-based Linux distribution with apt-get
At least 12 GB of RAM (64 GB+ recommended for larger models)
The recommended model for this playbook is Qwen3.6-35B-A3B-GGUF from Unsloth, a strong MoE model with a 263k-token context window that is well-suited to agent workloads. This model uses UD-Q4_K_XL quantization. Pull it now:
Terminal window
lemonadepullQwen3.6-35B-A3B-GGUF
Then load it with a large context window and save that setting for future runs:
The model has a default context length of 262,144 tokens. If you encounter out-of-memory (OOM) errors, consider reducing the context window. However, because Qwen3.6 leverages extended context for complex tasks, we advise maintaining a context length of at least 128K tokens to preserve thinking capabilities.
Tip: Disable thinking for faster agent responses: Qwen3.6-35B-A3B runs in thinking mode by default, which adds latency before each response. For agent loops this overhead accumulates quickly. The lemonade-sdk/recipes repo provides a ready-made config that disables thinking. To use it, download the file and import it:
We run OpenClaw inside WSL (Recommended) and connect it to Lemonade running natively on Windows. This gives you a Linux shell environment for OpenClaw while keeping Lemonade’s GPU acceleration on the Windows side.
Install WSL and Ubuntu
Open PowerShell as Administrator and install the WSL kernel:
Terminal window
wsl --install --no-distribution
Then install Ubuntu:
Terminal window
wsl --install -d Ubuntu-24.04
Enable systemd in WSL
Run this inside the Ubuntu terminal:
Terminal window
sudotee/etc/wsl.conf>/dev/null<<'EOF'
[boot]
systemd=true
EOF
Restart WSL:
Terminal window
wsl --shutdown
wsl
Bridge Lemonade from Windows into WSL
WSL2 runs in a virtual network. Lemonade on Windows binds to 127.0.0.1, which WSL cannot reach directly. A Windows port proxy forwards traffic from the WSL gateway IP to Windows localhost.
Find your WSL gateway IP (run inside WSL):
Terminal window
iprouteshowdefault|awk'{print $3}'|head-1
Add the port proxy (run in PowerShell as Administrator, replacing <WSL-Gateway-IP> with your WSL gateway IP):
The netsh portproxy rule survives reboots but the WSL gateway IP can change after wsl --shutdown. If Lemonade becomes unreachable from WSL after a restart, get the updated gateway IP and update the proxy with this new IP.
Install and Configure OpenClaw
Install OpenClaw
Run the commands in this section inside your WSL terminal.
The --no-onboard flag skips the interactive setup wizard, you will configure the model backend manually in the next step, which gives you precise control over which model and server are used.
This command writes OpenClaw’s configuration to ~/.openclaw/openclaw.json.
OpenClaw context window sizing: OpenClaw’s compaction triggers when contextTokens > contextWindow − reserveTokens. The default reserveTokensFloor is 20,000 tokens, a floor that overrides reserveTokens when lower, so any model context below ~37k will trigger an infinite compaction loop. Set a low reserve and disable the floor once in your config and it applies to every model, no per-model tuning needed:
"compaction": {
"reserveTokens": 4096,
"reserveTokensFloor": 0
}
reserveTokensFloor is a floor (minimum guard), not the reserve itself, setting only the floor has no effect. reserveTokensFloor: 0 disables the guard so the lower reserveTokens is accepted.
When to apply this: Use this config if your model’s effective context window is below ~37k, either because the model is small (e.g. 8k, 16k, 32k) or because you’ve intentionally capped it to a lower value (e.g. loading a 128k model but setting context to 16k in Lemonade). Without it, OpenClaw enters an infinite compaction loop on startup.
Large-context models at full context: You can skip this entirely. The defaults work fine, compaction will kick in well before the window fills and the model has ample room to generate long responses. If you do apply it, be aware that reserveTokens: 4096 limits response length to ~4k tokens, which may cut off long file generation or detailed plans.
Where to add this: Place the compaction block inside agents.defaults in your openclaw.json (usually at ~/.openclaw/openclaw.json):
The rest of your config (gateway, channels, models, etc.) stays unchanged, only the compaction key needs to be added.
(Recommended) Enable Docker Sandboxing
OpenClaw can route all agent file and code operations through an isolated Docker container rather than running them directly on your host. This limits the blast radius of any unintended action to the sandbox, leaving your host filesystem and network untouched.
Build the sandbox image once (Docker must be installed):
RUN useradd --create-home --shell /bin/bash sandbox
USER sandbox
WORKDIR /home/sandbox
CMD ["sleep", "infinity"]
DOCKERFILE
Run this to add the sandbox key inside the existing agents.defaults block in ~/.openclaw/openclaw.json:
Terminal window
cat>sandbox.patch.json5<<JSON5
{
agents: {
defaults: {
sandbox: {
mode: "non-main",
scope: "session",
workspaceAccess: "none"
}
}
}
}
JSON5
openclawconfigpatch--file./sandbox.patch.json5
Sandbox containers have no network access by default. See the sandboxing reference for bind mounts and network overrides.
Troubleshooting: Docker Permission Denied
If you get “permission denied” when running Docker commands:
Step 1: Add your user to the docker group
Terminal window
sudogroupadddocker# Create group if needed
sudousermod-aGdocker $USER # Add yourself to the group
newgrpdocker# Activate the change
dockerrunhello-world# Test it
Step 2: If the error persists, apply the permanent fix
Terminal window
sudochgrpdocker/lib/systemd/system/docker.socket
sudochmodg+w/lib/systemd/system/docker.socket
Then reboot your system.
Quick temporary fix (resets after reboot):
Terminal window
sudochmod666/var/run/docker.sock
Start the OpenClaw Gateway
The gateway is the OpenClaw process that manages the agent loop and serves the dashboard:
Terminal window
openclawgatewayrun--bindloopback--port18789
To open the dashboard, run this in a second terminal while the gateway is still running:
Terminal window
openclawdashboard
Because the gateway binds to loopback, the dashboard auto-authenticates when opened from the same machine, no token entry or device approval is needed for local access. You should see the OpenClaw dashboard with your Lemonade model listed as the active backend.
If you’ve enabled sandboxing, you can verify it by asking the agent to run hostname from the dashboard. If you see a short container ID instead of your machine’s hostname, the sandbox is working.
Congratulations, you’ve built a fully local AI agent stack from scratch.
Need the gateway token? Run openclaw dashboard --no-open to print the dashboard URL with the token embedded (it also attempts to copy it to your clipboard). Alternatively, the token is at gateway.auth.token in ~/.openclaw/openclaw.json.
Approving a remote device: When you open the dashboard from a second machine or phone, the browser displays a request ID. Back on the machine running the gateway, run:
Terminal window
openclawdevicesapprove <requestId>
This is only needed for remote or secondary devices, loopback access from the same machine auto-authenticates.
Optional: Connect a Communication Channel
Once the gateway is running you can reach your local agent from any device. Pick the option that fits your setup. OpenClaw supports Discord, Telegram, and other channels, see the full list at docs.openclaw.ai.
Option A: Discord
Discord requires a server where you have administrator access to add a bot. If you share servers but don’t own one, use Option B (Telegram) instead.
Create a Discord account and server
If you do not have a Discord account, sign up at discord.com. You also need a server where you are administrator, create one by clicking the + icon in the Discord sidebar and selecting Create My Own. A private server is fine.
Create a Discord application and bot
Go to the Discord Developer Portal and click New Application. Give it a name (e.g. “openclaw-bot”).
In the sidebar, click Bot. Set a username for the bot.
Still on the Bot page, scroll to Privileged Gateway Intents and enable:
Message Content Intent (required)
Server Members Intent (recommended)
Scroll back up and click Reset Token to generate your bot token. Copy it.
Add the bot to your server
In the sidebar, click OAuth2/ URL Generator.
Under Scopes, enable bot and applications.commands.
Right-click your server icon/ Privacy Settings/ toggle on Direct Messages. This allows the bot to DM you, which is required for the pairing step.
Configure OpenClaw for Discord
Store your bot token as an environment variable, then create a single patch file that enables Discord, references the token, and allowlists your server. Replace <server_id> and <user_id> with the IDs collected above.
Do not rely on asking the agent to configure this. When sandboxing is enabled, the agent cannot write to ~/.openclaw/openclaw.json from inside the sandbox, use the CLI commands above on the host instead.
Restart the gateway so it picks up the new channel config:
Terminal window
openclawgatewayrun--bindloopback--port18789
You should see logged in to discord as <bot-name> in the gateway output within a few seconds.
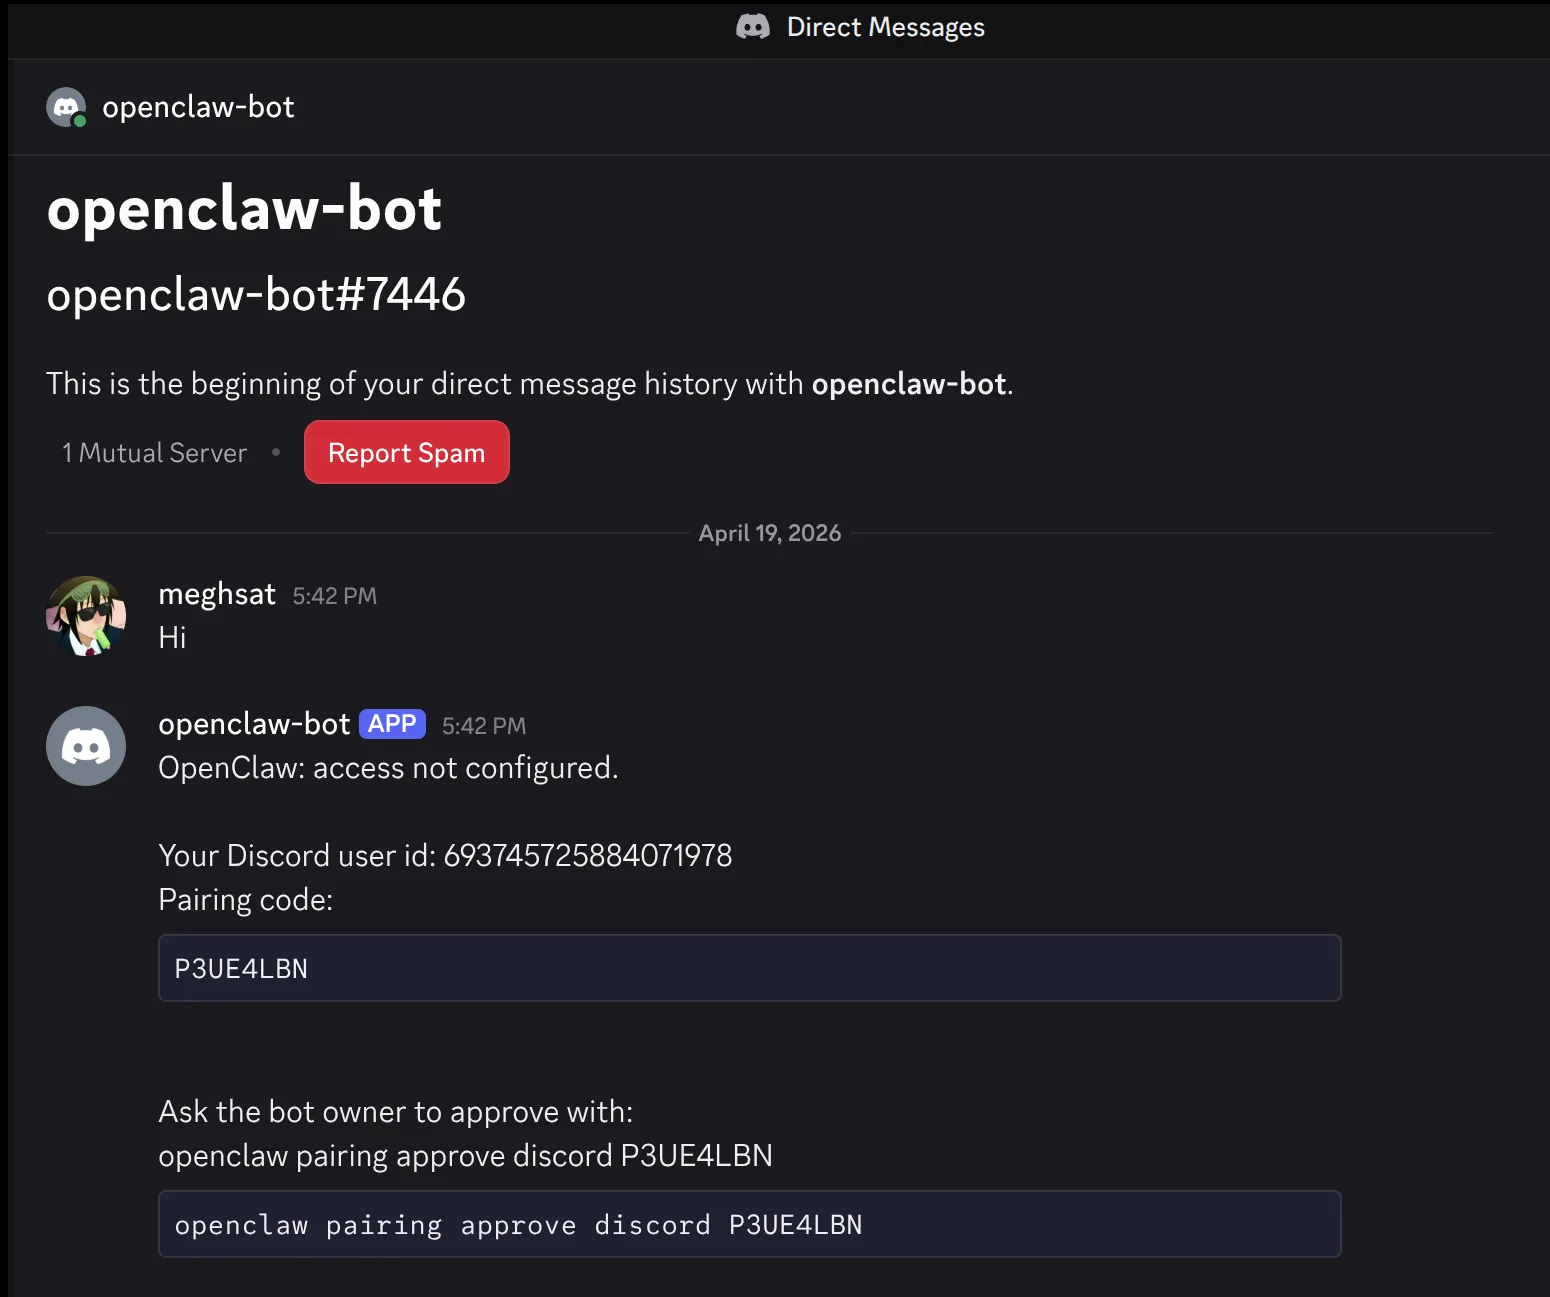
Pair your Discord account
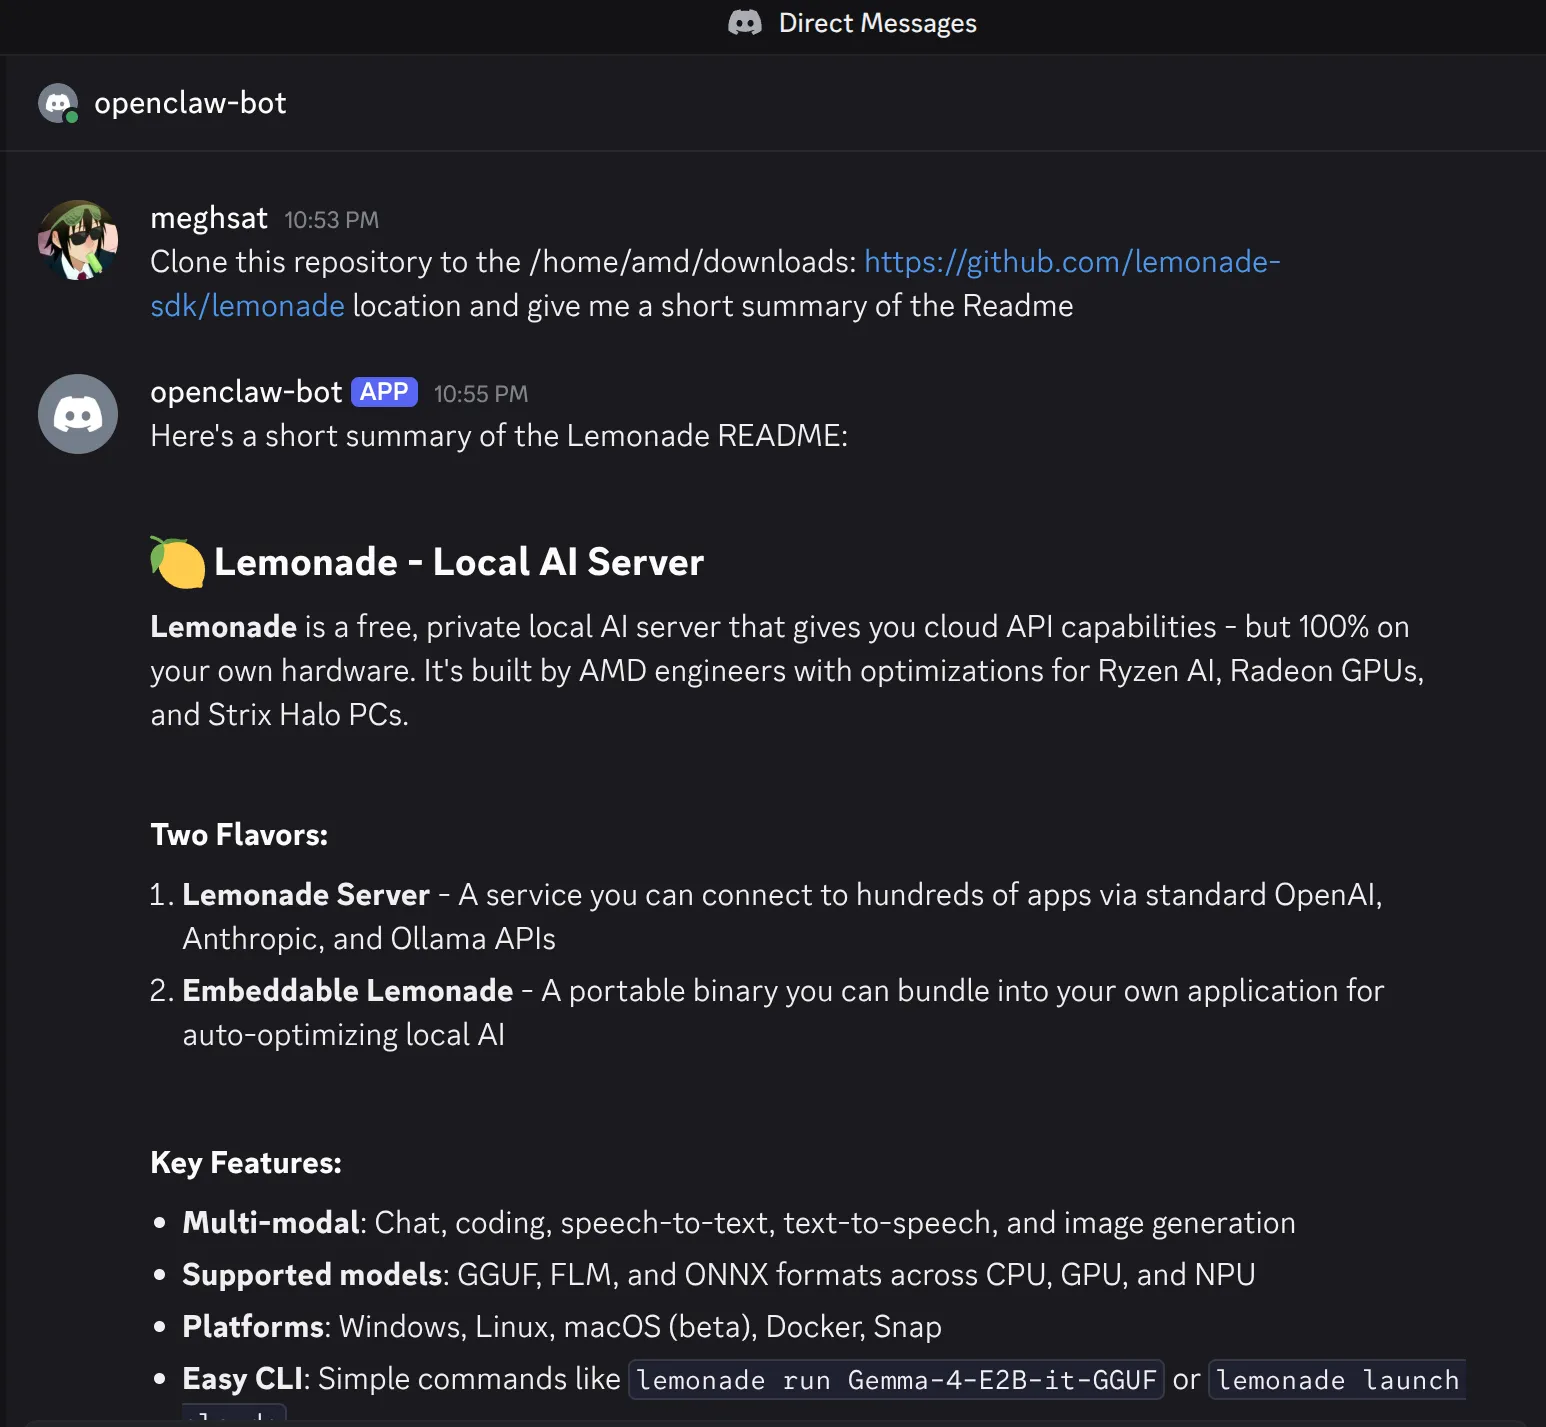
DM the bot in Discord. It will reply with a short pairing code.
Approve it on the machine running OpenClaw:
Terminal window
openclawpairingapprovediscord<CODE>
Pairing codes expire after one hour.
You can now chat with your agent directly from Discord and offload tasks to your local hardware.
Option B: Telegram
Telegram is simpler than Discord for most users, it requires no server and no admin access.
Create a Telegram bot
Open Telegram and message @BotFather.
Send /newbot and follow the prompts. Save the bot token it gives you.
Configure OpenClaw for Telegram
Store the token as an environment variable:
Terminal window
export TELEGRAM_BOT_TOKEN="YOUR_BOT_TOKEN"
Add the channel configuration to ~/.openclaw/openclaw.json (or patch it via the dashboard):
{
"channels": {
"telegram": {
"enabled": true,
"botToken": "YOUR_BOT_TOKEN",
"dmPolicy": "pairing"
}
}
}
Restart the gateway, then send your bot any message in Telegram. Approve the pairing:
Terminal window
openclawpairinglisttelegram
openclawpairingapprovetelegram<CODE>
Pairing codes expire after one hour. You can now chat with your agent via Telegram DM.
Next Steps
Now that your agent can receive commands from your phone and act on your local machine, here are three directions worth exploring:
Stock market summarizer: Schedule OpenClaw to fetch data from financial APIs on a fixed interval, summarize the day’s movements with your local model, and push a digest to your phone each morning via your chosen channel.
Fine-tuning monitor: Kick off a training job remotely via Telegram or Discord, then have the agent tail the training log and report periodic loss values, GPU utilization, and disk usage back to your phone. If the run stalls or VRAM spikes, you find out immediately without needing to be at the machine.
IOT with a local VLM: Point a camera at your front door, run a vision model on Lemonade, and have OpenClaw analyze frames on demand or on a trigger. Ask “did any packages arrive today?” from your phone and get a straight answer from your own hardware.
Need help with this playbook?
Run into an issue or have a question? Open a GitHub issue and our team will take a look.